How to connect an AI agent to your own API
Create a custom action so a Sell Whisper AI agent can call your HTTP endpoint during a conversation, with inputs, authentication and a test run. From Starter.
Do this in order
Create a custom action
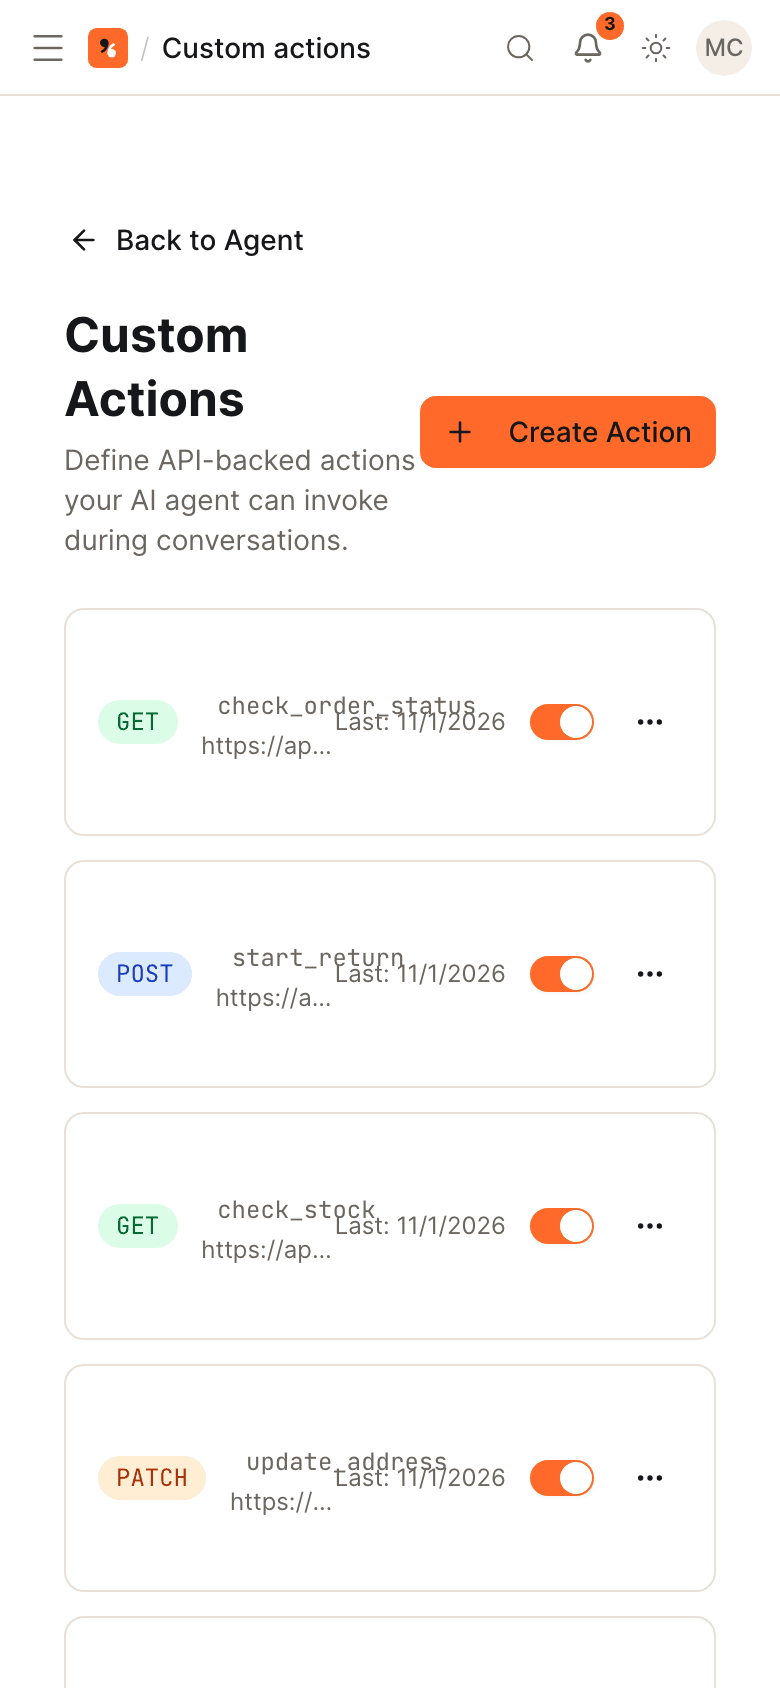
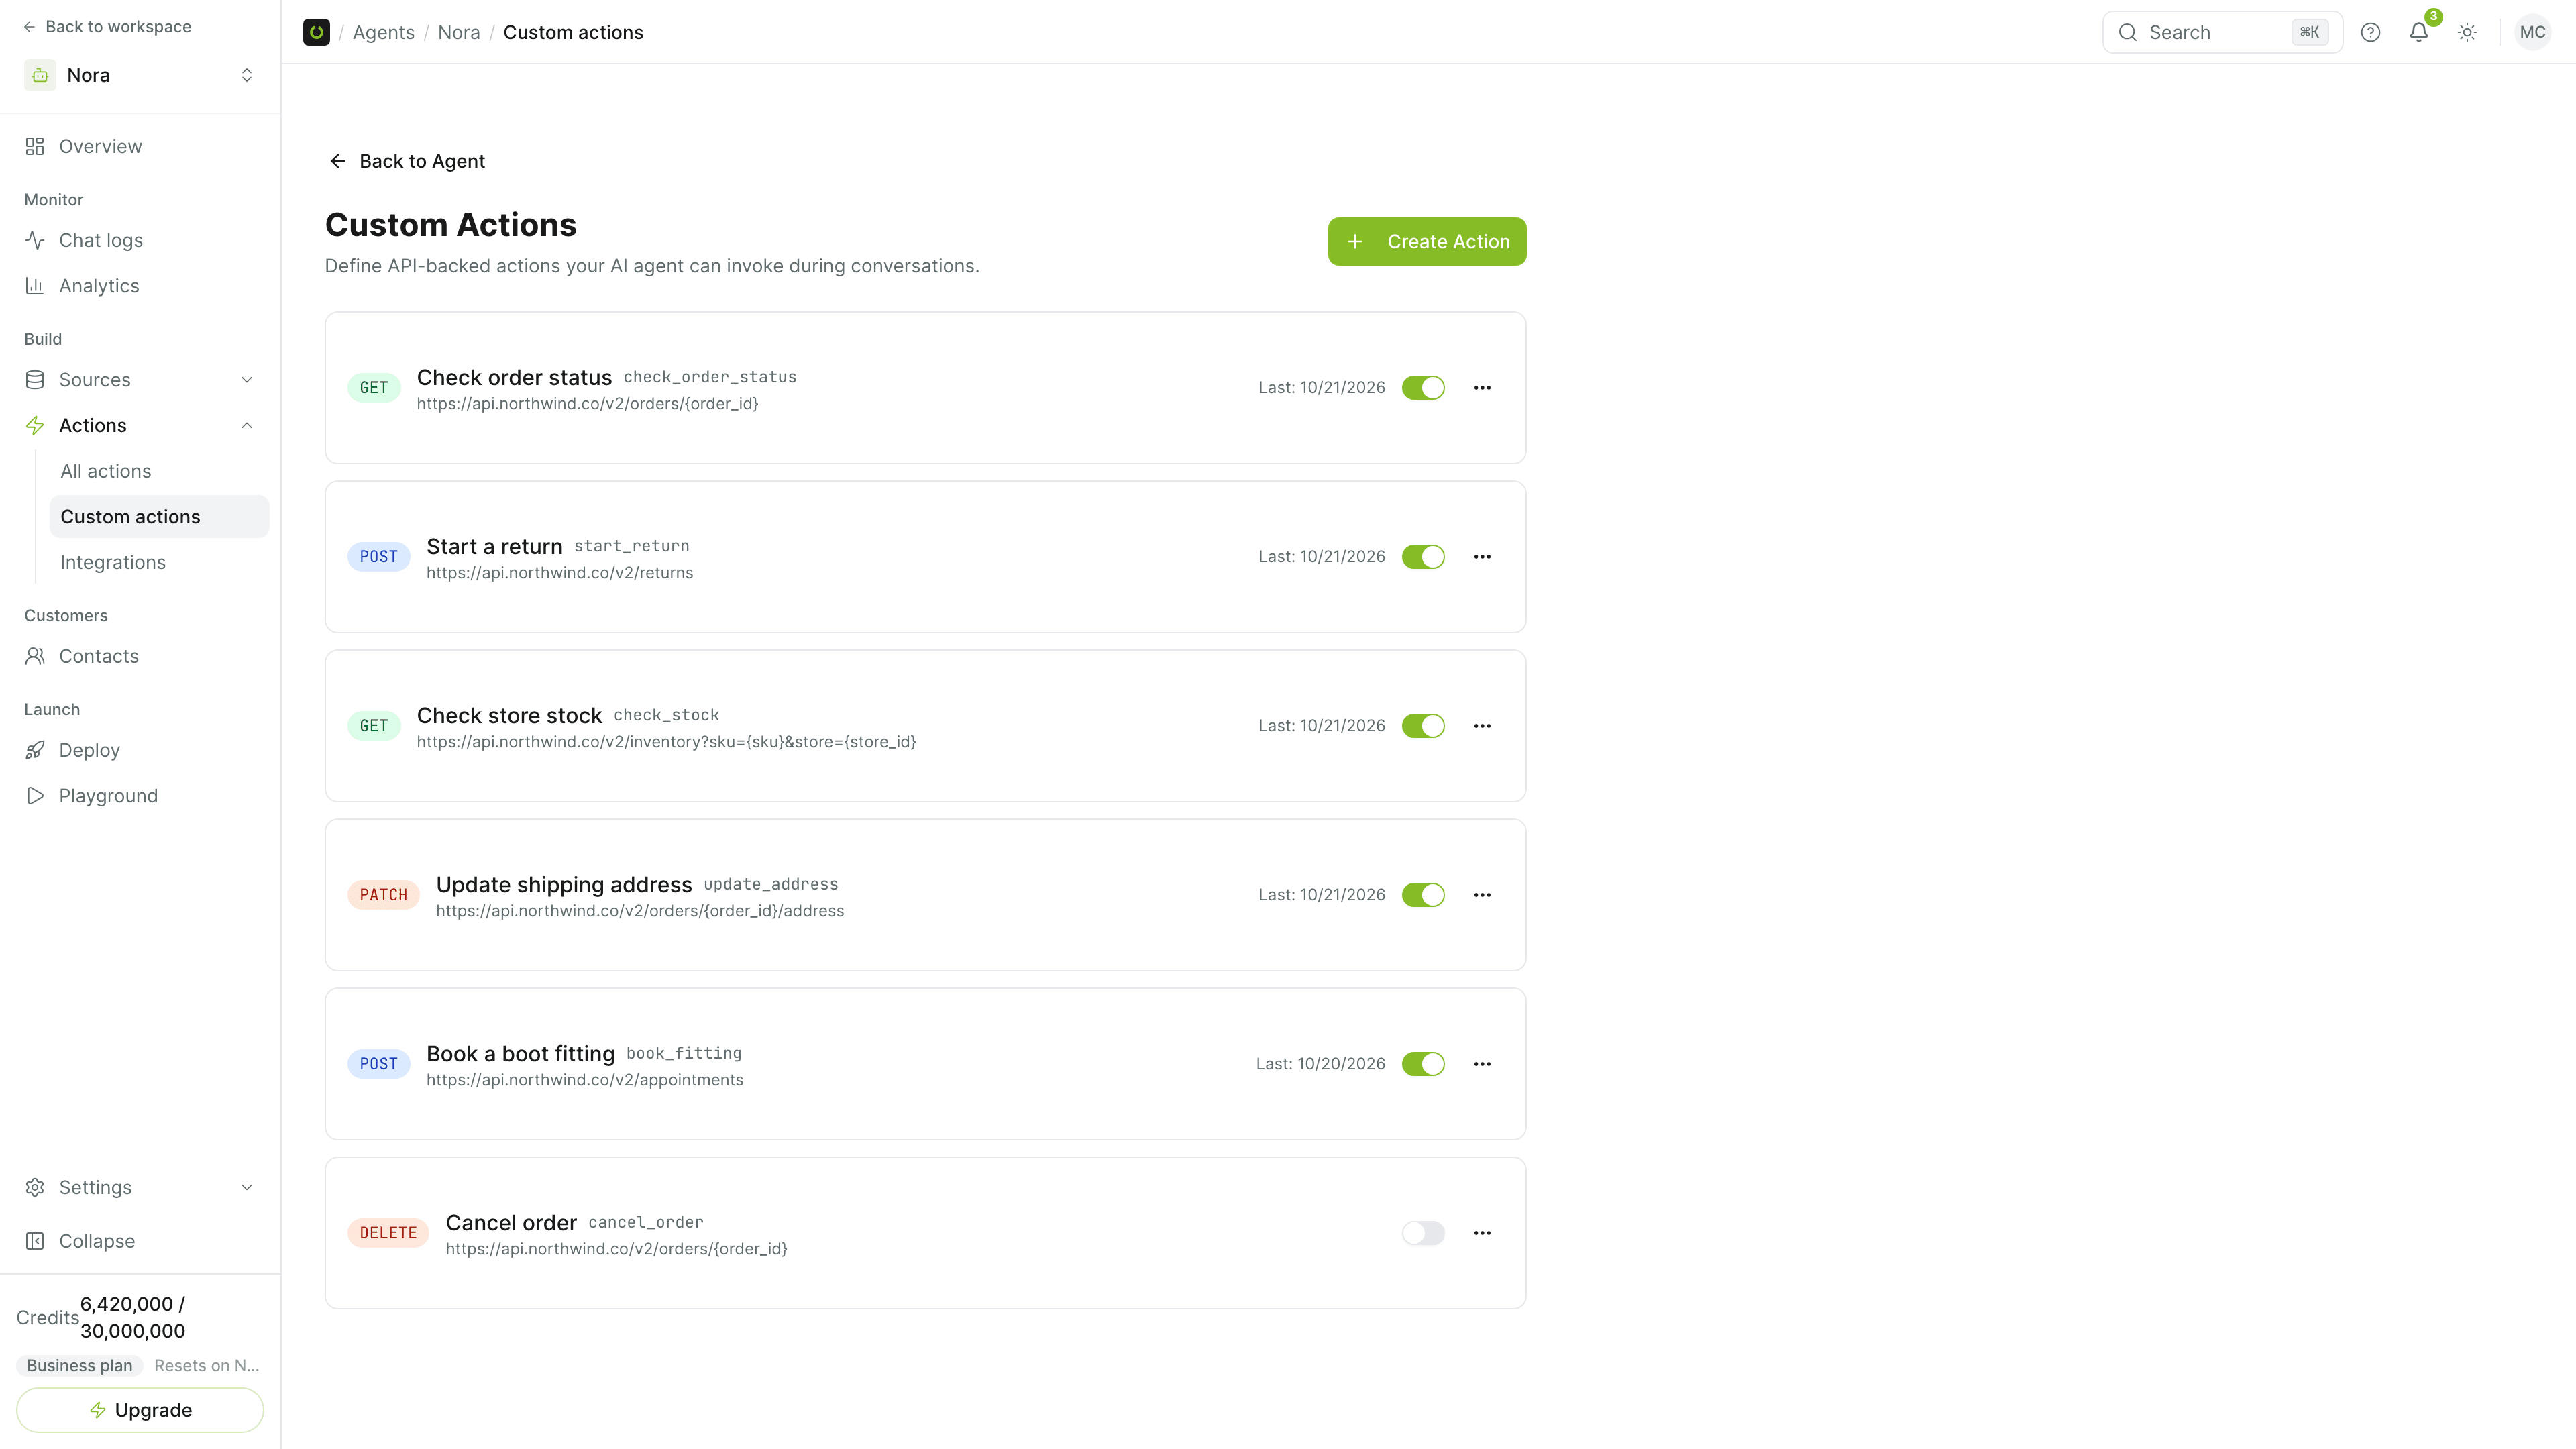
Open the agent, go to Actions, then Custom actions, and create an action with the type API Call. Custom actions are available on Starter and above.
Describe when to use it
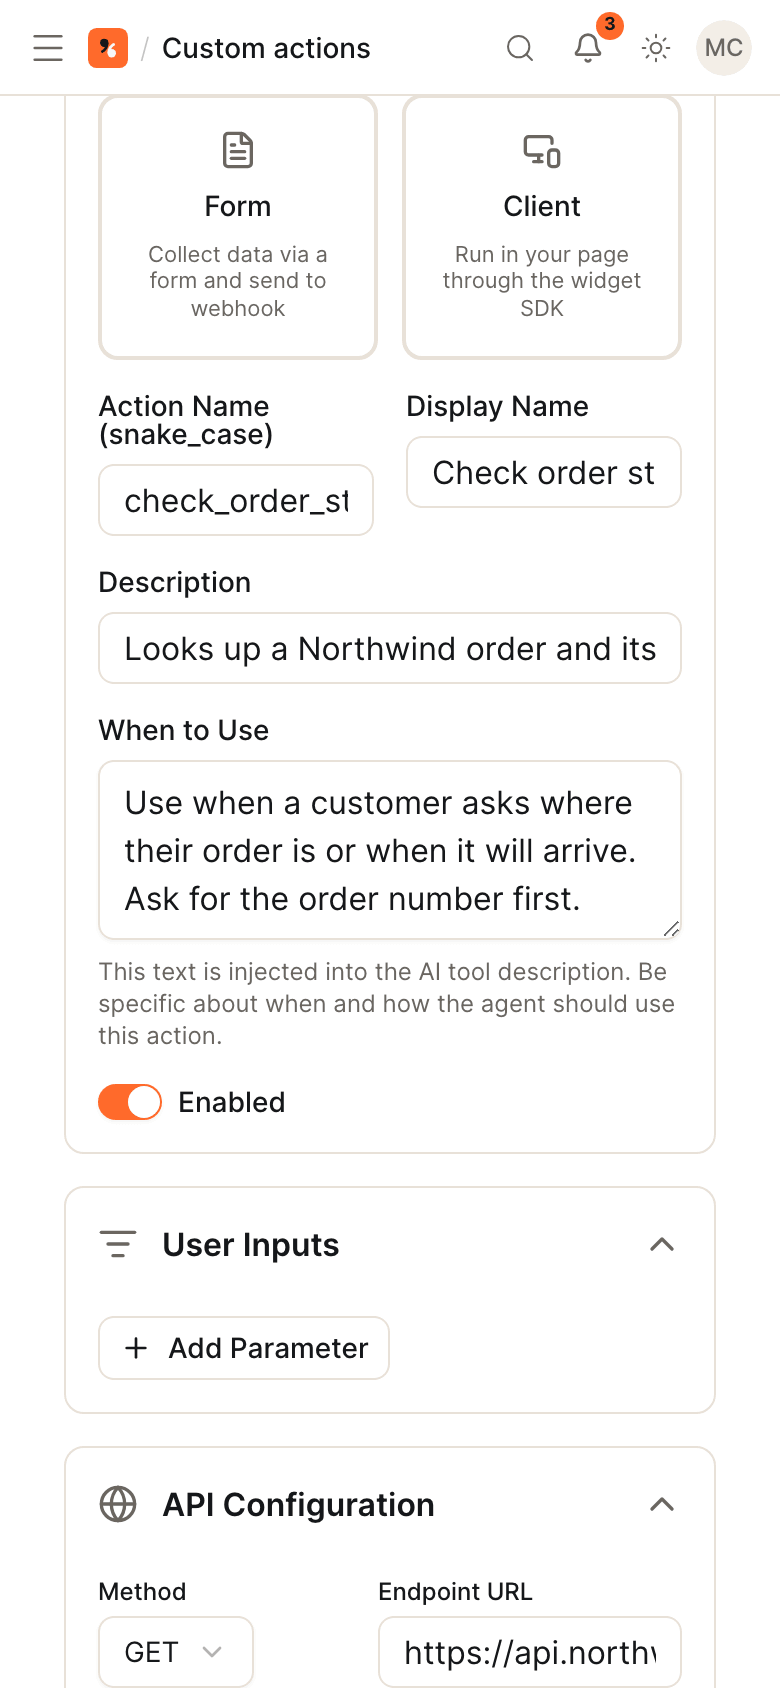
Give the action a name and a description, and fill in When to Use in plain words: this text tells the AI when to call your endpoint. Under User Inputs, add each value the agent should collect, with its type and whether it is required.
Point it at your endpoint
Set the method, endpoint URL, headers, query parameters and a JSON request body. Choose the authentication type: API key, bearer token, basic auth or a custom header.
Test it and turn it on
Save, then click Test with Live Data to run the call. Require user confirmation for anything that changes data, enable the action and try it in the Playground.
Four kinds of custom action
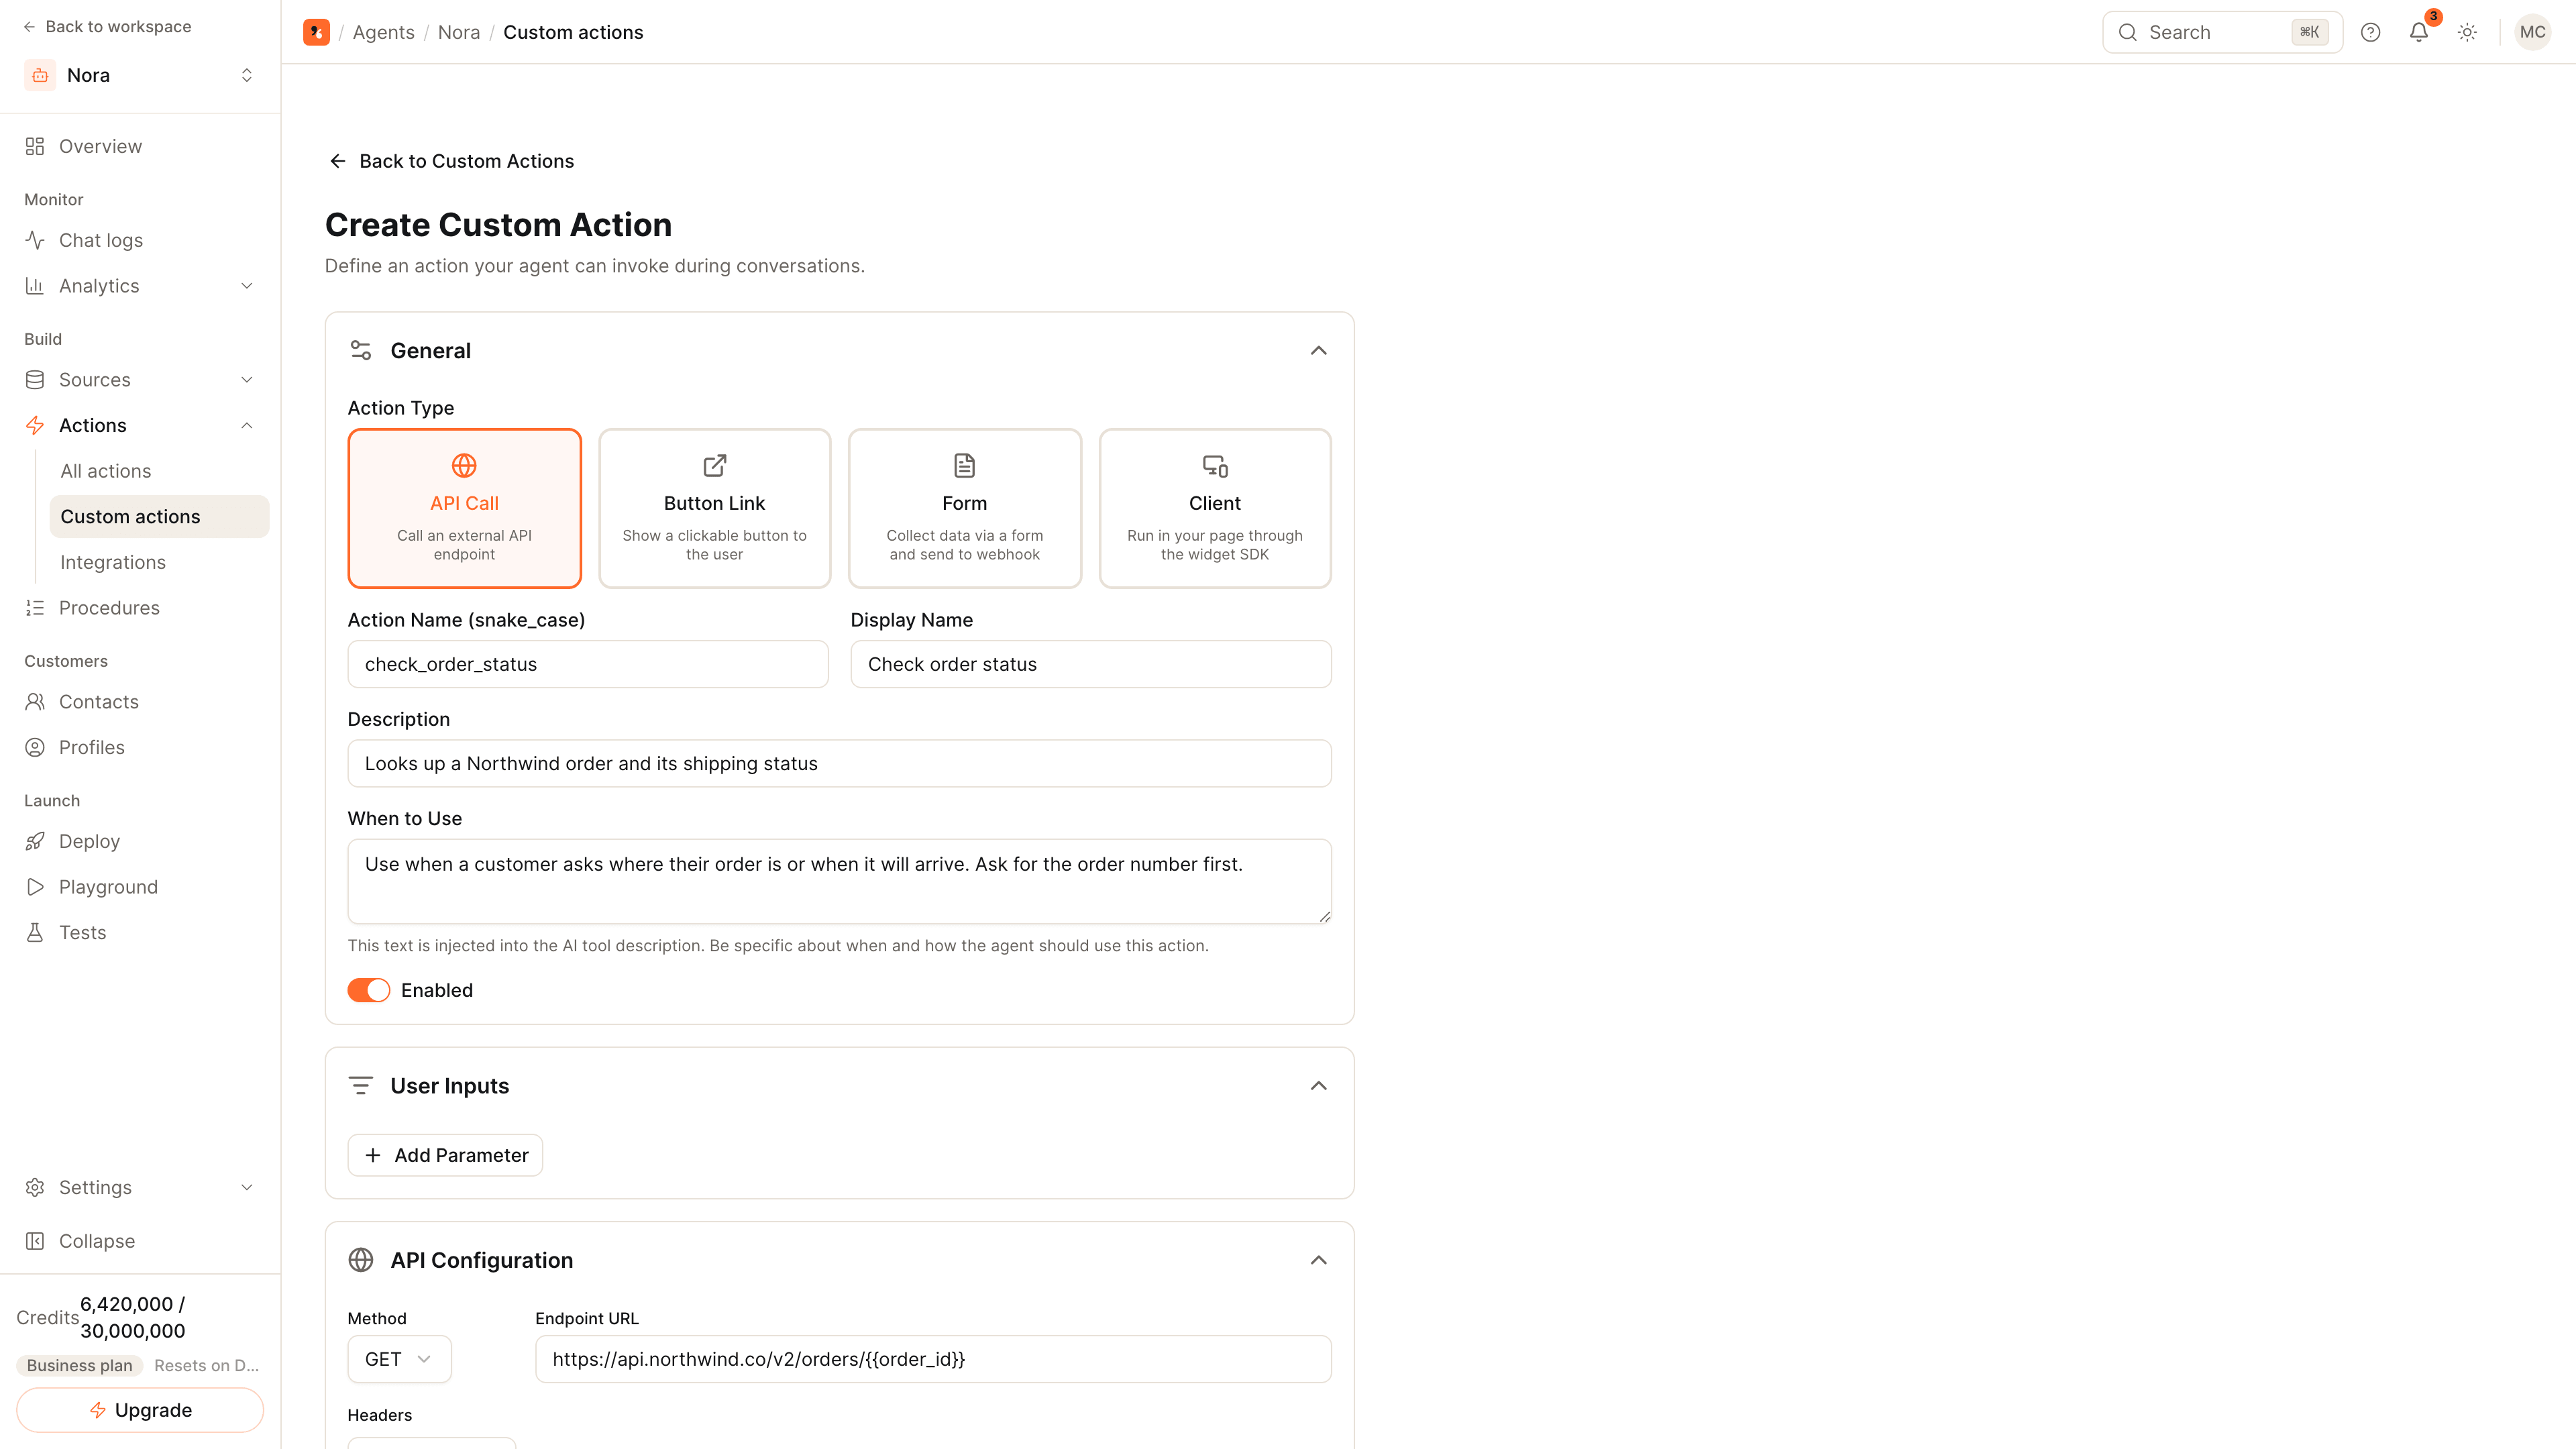
| Type | What it does |
|---|---|
| API Call | Calls your HTTP endpoint from the Sell Whisper AI servers and gives the response to the agent |
| Button Link | Shows a button that opens a URL |
| Form | Shows a form and posts what your customer enters to a webhook |
| Client | Runs a handler you register in your own page, in the visitor's browser |
This guide uses API Call. It fits lookups such as an order status, an account balance or a booking, and changes such as cancelling a subscription.
Write the description for the AI
The agent decides when to call an action from its description and its When to Use text, so write them the way you would brief a new colleague: what the action returns, and the situations that call for it. Name each input clearly and say what a valid value looks like. Vague descriptions are the usual reason an action is never called, or called at the wrong moment.
Keep it safe
- Authentication. Store the API key, bearer token or basic credentials on the action; they are never shown to your customer.
- Confirmation. Turn on user confirmation for anything that changes data, so your customer approves the call first.
- Limits and retries. Set a timeout and retry count for a slow endpoint, and rate limits under Advanced.
- Who is asking. For account-specific calls, verify signed-in users so the request carries an identity your server signed.
Show the result
Turn on the result view to show the response as a card, a form or a table in the widget. Messaging apps receive the same content as text.
Related
- Custom actions: the full reference.
- How to send chat leads and tickets to HubSpot and how to let an AI agent book meetings: built-in integrations that need no custom action.
- AI agent: why an agent that acts differs from a chatbot that answers.
Common questions
Can the response be shown as a card or a table?
Can an action run in my page instead of on a server?
Where can I see what was called?
Get started
Put the steps into practice
Start free, no credit card required.